
Understanding Your White-Rodgers Thermostat
White-Rodgers thermostats offer diverse models‚ each with unique features; consulting the manual ensures optimal performance and efficient climate control within your home environment․
Thermostat Model Numbers and Identification
Identifying your White-Rodgers thermostat model is crucial for accessing the correct documentation and support․ Model numbers are typically located on the back of the thermostat unit‚ often visible after removing the cover plate․ Common prefixes include 36C‚ TLX‚ and various others‚ followed by a series of digits․
These numbers specify the thermostat’s features and compatibility with different HVAC systems; Referencing the model number when contacting customer service (1-877-654-9394) or searching online for manuals ensures you receive accurate information․ Understanding the model also helps determine specific wiring diagrams and programming capabilities․ The date of manufacture can sometimes be inferred from the packaging or markings on the device itself‚ aiding in locating relevant documentation․ Proper identification streamlines troubleshooting and maintenance procedures․
Common White-Rodgers Thermostat Features
White-Rodgers thermostats commonly feature programmable schedules‚ allowing users to set different temperatures for various times of the day‚ optimizing energy efficiency and comfort․ Many models include a digital display showing current and set temperatures‚ alongside operational modes like heat‚ cool‚ and auto․ Battery indicators alert users when replacement is needed‚ preventing unexpected system failures․
Some advanced models offer features like remote access via mobile apps‚ learning capabilities that adapt to user preferences‚ and compatibility with smart home systems․ Basic models provide manual temperature control with simple up/down buttons․ Troubleshooting often involves checking these features and ensuring correct settings․ Resetting the device by removing batteries for five minutes can resolve minor operational issues․
Installation Guide
Proper installation is crucial; always consult the specific model’s instructions‚ ensuring secure wiring and correct placement for optimal performance and reliable HVAC system control․
Proper Thermostat Placement
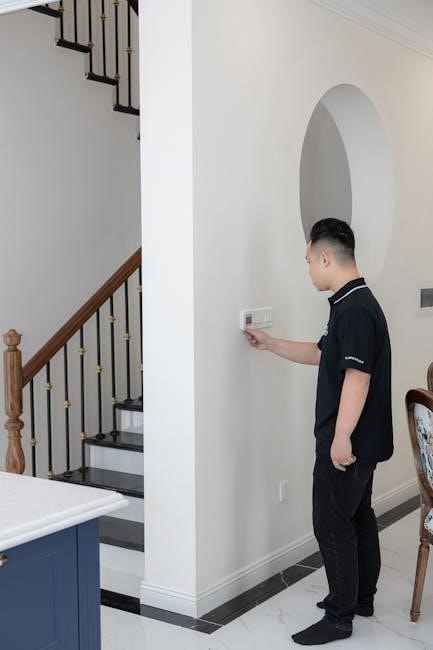
Strategic thermostat placement significantly impacts heating and cooling efficiency․ Avoid mounting on exterior walls‚ as fluctuating temperatures can provide inaccurate readings‚ leading to inconsistent comfort and increased energy consumption․ Direct sunlight‚ drafts from doors or windows‚ and proximity to heat-generating appliances – like lamps or televisions – should also be avoided․
Ideally‚ position your White-Rodgers thermostat on an interior wall‚ approximately five feet above the floor‚ in a central location within the area you wish to control․ This ensures it accurately senses the average room temperature․ Ensure good air circulation around the thermostat; do not enclose it within furniture or curtains․ Following these guidelines will contribute to a more comfortable and energy-efficient home environment‚ maximizing the benefits of your thermostat’s functionality․
Wiring Diagrams for Common Systems
Correct wiring is crucial for proper thermostat operation and HVAC system functionality․ White-Rodgers thermostats are compatible with various systems‚ including conventional gas‚ oil‚ and heat pump setups․ Refer to the specific wiring diagram included with your thermostat model‚ as configurations vary․ Typically‚ terminals are designated for power (R)‚ heat (W)‚ cool (Y)‚ and common (C)․
Gas valve models‚ like the 36C03‚ require specific pipe size and gas connection specifications detailed in accompanying documentation․ Incorrect wiring can lead to system malfunctions or even safety hazards․ If you are unfamiliar with electrical wiring‚ always consult a qualified HVAC technician․ Proper installation ensures efficient operation and prevents potential damage to your heating and cooling equipment․ Double-check all connections before restoring power․
Battery Installation and Replacement
Maintaining fresh batteries is essential for reliable thermostat operation‚ particularly for models relying on battery power for programming and display functions․ Most White-Rodgers thermostats utilize standard AA or AAA alkaline batteries․ Locate the battery compartment‚ typically on the front or side of the unit‚ and follow the polarity markings (+ and -) when installing new batteries․
If the display is dim or the thermostat isn’t responding‚ battery replacement is often the first troubleshooting step․ Remove the old batteries and insert new ones‚ ensuring a secure connection․ A low battery indicator will usually appear on the display before complete failure․ Resetting the thermostat by removing batteries for five minutes can resolve unresponsive buttons․ Regularly check battery levels to prevent unexpected loss of settings․
Operating Your Thermostat
Effectively managing your White-Rodgers thermostat involves setting desired temperatures‚ programming schedules for energy savings‚ and understanding the meaning of displayed icons․
Setting the Temperature
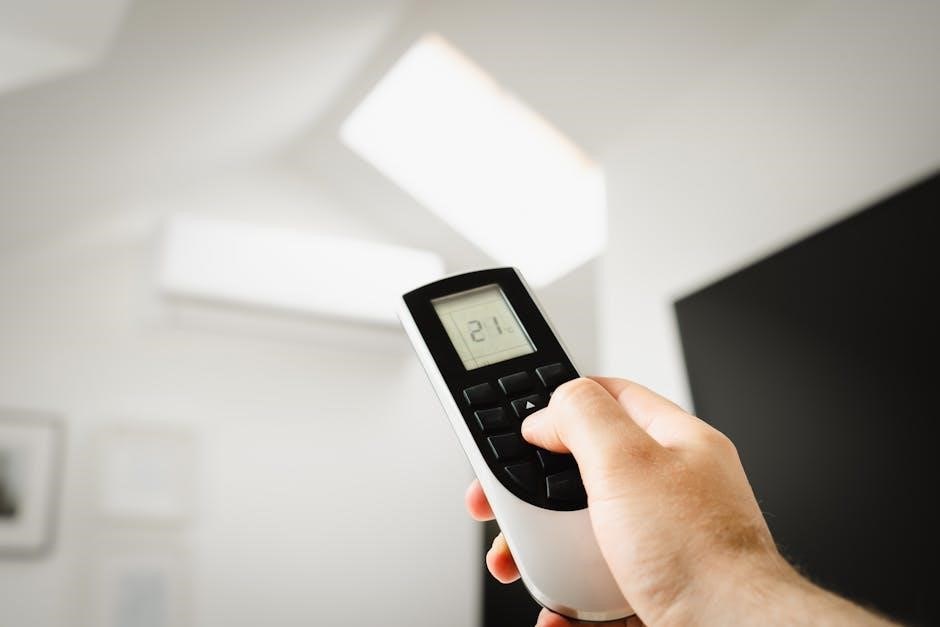
Adjusting the temperature on your White-Rodgers thermostat is typically straightforward‚ though methods vary slightly between models․ Most thermostats feature up and down arrow buttons‚ allowing you to increase or decrease the setpoint․ The current room temperature is usually displayed prominently‚ alongside your desired setting․
For programmable models‚ ensure you’re in the correct mode – “Heat‚” “Cool‚” or “Auto” – before adjusting the temperature․ The “Auto” setting automatically switches between heating and cooling to maintain your preferred temperature range․ Some thermostats offer a “Hold” function‚ which overrides the programmed schedule and maintains a constant temperature until manually changed․
Pay attention to the display; it will indicate whether the system is actively heating or cooling․ If the thermostat isn’t responding‚ check the batteries or ensure the power switch is on․ Remember to consult your specific model’s manual for detailed instructions and any unique features it may possess․
Programming Schedules
White-Rodgers programmable thermostats allow customized heating and cooling schedules‚ optimizing comfort and energy savings․ To program‚ access the “Program” or “Schedule” mode‚ often indicated by a clock icon․ You’ll typically define different setpoints for various periods – “Wake‚” “Leave‚” “Return‚” and “Sleep” – throughout the day․
Many models support separate schedules for weekdays and weekends‚ providing flexibility to match your lifestyle․ Carefully consider your daily routines when setting these schedules; lower temperatures while away or asleep can significantly reduce energy consumption․ Some thermostats offer pre-programmed schedules as a starting point‚ which you can then customize․
Remember to save your changes after programming․ Review the schedule periodically to ensure it still aligns with your needs․ The manual provides detailed steps specific to your model‚ including navigating the menu and understanding the programming options available․
Understanding Display Icons
Your White-Rodgers thermostat’s display utilizes various icons to communicate system status and settings․ A flame icon indicates the heating system is active‚ while a snowflake signifies cooling is engaged․ A battery icon alerts you to low battery levels‚ requiring replacement to maintain accurate operation․ A clock icon typically signifies the programmed schedule is running․
Other common icons include “Fan” (indicating the fan is on)‚ “Auto” (automatic heating/cooling mode)‚ and potentially icons representing Wi-Fi connectivity or specific system faults․ A blinking display often signals an error condition‚ requiring troubleshooting – consult the manual for specific error code interpretations․
Familiarizing yourself with these icons allows for quick assessment of your HVAC system’s operation․ The thermostat manual provides a comprehensive guide to all display icons specific to your model‚ ensuring you can readily understand and respond to its signals․

Troubleshooting Common Issues
Addressing thermostat problems often involves checking batteries‚ settings‚ and error codes; resetting the device can resolve many issues quickly and efficiently․
Thermostat Not Responding
If your White-Rodgers thermostat isn’t responding‚ begin with the simplest checks; First‚ verify that electrical disconnect switches are in the ‘ON’ position‚ ensuring power reaches the unit․ Next‚ confirm all access panels are securely in place‚ as some models feature safety mechanisms․
Crucially‚ inspect the thermostat’s batteries; depleted batteries are a frequent cause of unresponsiveness․ Replace them with fresh ones and observe if the display reactivates․ If the buttons themselves aren’t functioning‚ attempt a reset by removing the batteries for approximately five minutes․
Also‚ carefully examine the thermostat’s settings to ensure they are appropriate for your desired operation․ A misconfigured setting could mimic a lack of response․ If these steps fail‚ a potential bus communication fault—indicated by loose wiring‚ pinched cables‚ corrosion‚ or interference—may require professional attention․
Temperature Discrepancies
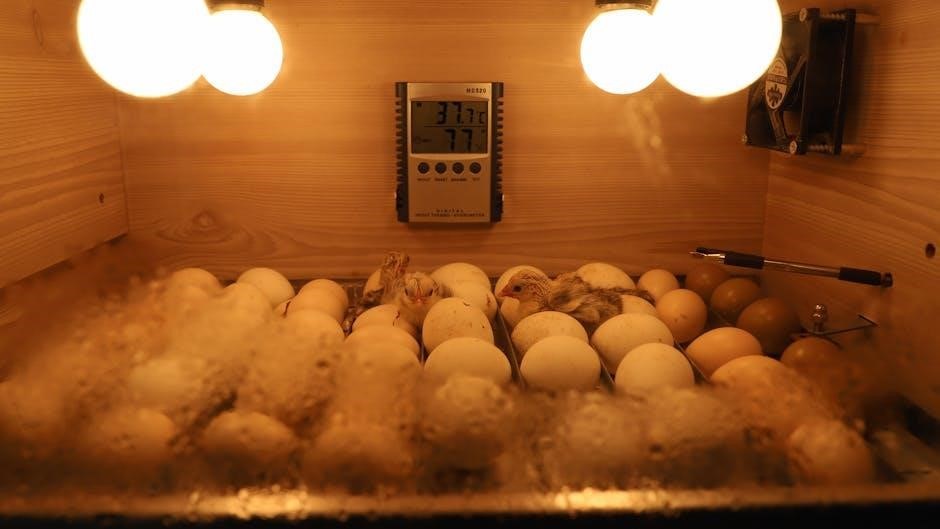
Significant temperature discrepancies between your White-Rodgers thermostat’s reading and the actual room temperature often indicate placement issues․ Avoid mounting the thermostat on exterior walls or in direct sunlight‚ as these locations yield inaccurate readings․ Ensure it isn’t near heat sources like lamps or appliances‚ or drafty areas like doorways and windows․
Consider the thermostat’s calibration․ Some models allow for temperature offset adjustments; consult your specific model’s manual for instructions․ A failing thermostat can also cause inaccurate readings‚ necessitating replacement․
Furthermore‚ investigate potential problems within your HVAC system itself․ A malfunctioning furnace or air conditioner can contribute to temperature inconsistencies․ If discrepancies persist after addressing these factors‚ professional HVAC service is recommended to diagnose and resolve underlying system issues․
Blinking Display Issues
A blinking display on your White-Rodgers thermostat often signals a problem requiring attention․ Initially‚ attempt a simple reset by removing the batteries for approximately five minutes‚ then reinserting them․ This can resolve minor glitches causing the blinking․ Check for physically stuck or dirty buttons‚ as these can interfere with proper operation․
Persistent blinking may indicate a more serious issue‚ such as a bus communication fault – potentially a loose wire‚ pinched cable‚ corrosion‚ or electrical interference․ Inspect wiring connections carefully․ A failing thermostat itself can also trigger a blinking display‚ suggesting a need for replacement․
Consult your thermostat’s manual for specific blink code meanings‚ as different patterns correspond to different problems․ If the issue persists after these steps‚ professional HVAC assistance is advisable․
HVAC System Not Turning On/Off
If your HVAC system fails to respond to your White-Rodgers thermostat‚ several factors could be at play․ First‚ verify that all electrical disconnect switches are in the ‘ON’ position․ Ensure access panels are securely in place‚ as safety mechanisms often prevent operation if they are open․
Confirm the thermostat’s settings are correct – it might be set to ‘OFF’ or a temperature outside the current room conditions․ A failing thermostat itself is a common cause‚ as is a bus communication fault‚ indicated by loose wiring‚ corrosion‚ or interference․
Check for proper thermostat settings and consider a reset․ If problems persist‚ consult a qualified HVAC technician to diagnose potential issues with the system itself‚ beyond the thermostat’s control․

Advanced Troubleshooting
White-Rodgers thermostats may require checking wiring connections‚ identifying bus communication faults‚ or resetting to factory defaults for complex issues and optimal functionality․
Checking Wiring Connections
Ensuring secure and correct wiring is paramount when troubleshooting a White-Rodgers thermostat․ Begin by completely powering down your HVAC system at the breaker to avoid electrical shock․ Carefully remove the thermostat from its wall plate‚ noting the existing wire connections – a photograph can be incredibly helpful!
Inspect each wire for corrosion‚ fraying‚ or loose connections․ Gently tug on each wire to confirm it’s firmly seated in its terminal․ Refer to your thermostat’s wiring diagram (often found inside the thermostat or in the installation manual) to verify that each wire is connected to the correct terminal․ Pay close attention to the common (C) wire‚ as its absence or incorrect connection is a frequent cause of issues․
If you discover any loose or corroded connections‚ carefully tighten or clean them․ If a wire is damaged‚ replace it with a new one of the same gauge․ Once all connections are verified and secured‚ reattach the thermostat to the wall plate and restore power to your HVAC system․
Identifying Bus Communication Faults
Bus communication faults within a White-Rodgers thermostat system indicate a disruption in the signal exchange between the thermostat and the HVAC equipment․ These issues often manifest as erratic behavior or a complete lack of response․ Potential causes include loose wiring‚ pinched or damaged communication cables‚ corrosion at connection points‚ or electrical interference․
Carefully inspect the low-voltage wiring connecting the thermostat to the furnace or air handler․ Look for any visible damage to the cable itself․ Ensure all connections are secure and free from corrosion․ Try gently re-seating the wires at both ends․ Electrical interference from nearby devices can also disrupt communication; try temporarily disconnecting potential sources of interference․
If the problem persists‚ a multimeter can be used to test the continuity of the communication wires․ Consult a qualified HVAC technician if you are uncomfortable performing electrical tests or if the fault remains unresolved․
Resetting the Thermostat to Factory Defaults
Resetting your White-Rodgers thermostat to factory defaults can resolve persistent issues or prepare it for a new installation․ However‚ this action will erase all personalized settings‚ including programmed schedules and temperature preferences‚ returning the thermostat to its original‚ out-of-the-box configuration․
The reset procedure typically involves removing the thermostat’s batteries for a minimum of five minutes․ This allows any residual power to dissipate‚ effectively clearing the memory․ After reinserting the batteries‚ the thermostat should initiate a startup sequence‚ prompting you to reconfigure the settings․
Consult your specific model’s manual for detailed instructions‚ as the exact process may vary․ Be aware that a factory reset will necessitate a complete re-setup of your desired temperature settings and programming schedules․ This ensures optimal performance and tailored comfort․

Maintenance and Care
Regular cleaning and proper storage extend your White-Rodgers thermostat’s lifespan‚ ensuring continued accurate temperature regulation and reliable performance for years to come․
Cleaning the Thermostat
Maintaining a clean White-Rodgers thermostat is crucial for optimal functionality and longevity․ Before cleaning‚ always ensure the system is switched off at the breaker to prevent electrical shock․ Gently remove the thermostat cover – consult your specific model’s manual for instructions‚ as methods vary․
Use a soft‚ dry cloth to wipe down the exterior casing‚ removing dust and debris․ Avoid abrasive cleaners or solvents‚ as these can damage the plastic or display screen․ For stubborn dirt‚ lightly dampen the cloth with water‚ ensuring it’s not dripping wet․
Pay particular attention to the buttons‚ carefully cleaning around them to remove any accumulated grime․ If the buttons are unresponsive‚ a gentle cleaning might resolve the issue․ Once clean and dry‚ carefully reattach the cover‚ ensuring it’s securely in place․ Regular dusting will prevent buildup and maintain clear visibility of the display․
Long-Term Storage
If you need to store your White-Rodgers thermostat for an extended period‚ proper preparation is essential to prevent damage and ensure future functionality․ First‚ completely disconnect the thermostat from the HVAC system by turning off power at the breaker․ Carefully remove the thermostat from the wall plate‚ noting the wiring configuration – taking a picture is highly recommended for easy reinstallation․
Remove the batteries to prevent corrosion and potential leakage during storage․ Store the thermostat in a clean‚ dry environment‚ away from extreme temperatures and direct sunlight․ A temperature-controlled indoor space is ideal․
Place the thermostat in an anti-static bag or wrap it in bubble wrap to protect it from dust and physical damage․ Keep the original packaging if available․ Properly stored‚ your thermostat will be ready for use when needed‚ saving you replacement costs and ensuring continued climate control․